

Introduction
Installing bathroom accessories might seem like a straightforward job, but it’s surprising how often things go sideways. Whether you’re adding towel rails, robe hooks, shelves or a new toilet roll holder, even small mistakes can turn into long-term issues — loose fixings, damaged tiles, or accessories that just don’t sit right.
It’s a common trap for DIYers and sometimes even seasoned contractors: assuming it’s a quick job, only to end up with crooked rails, cracked tiles, or fittings that pull out of the wall after a few weeks.
In this guide, we’ll run through the five most common bathroom accessory installation mistakes and how to avoid them. Along the way, you’ll get tips to help keep your fittings neat, secure and long-lasting. And if you’re keen on a smarter way to get it done, we’ll show you how Master Rail’s innovative system — available through UDO Systems — can make a big difference.
Let’s dive into the top errors to watch out for, and how to do the job right the first time.
Mistake #1 – Improper Anchoring
One of the biggest issues people face when installing bathroom accessories is not anchoring them properly to the wall. Towel rails, shelves, and other hardware may look light, but once you add weight — especially wet towels — they need to be firmly secured.
Why it matters
Improper anchoring can lead to wobbly fittings, loose screws, or worse — complete detachment from the wall, sometimes taking a chunk of tile with it. This is especially common with towel rails, where the force of pulling and re-hanging towels adds repeated pressure.
Common causes
- Using the wrong type of wall plug
- Not accounting for the wall structure (e.g. tile over plasterboard)
- Skipping wall anchors altogether
- Drilling into grout lines instead of tile faces
- Underestimating the weight that will be supported
What to do instead
Always match your fixing method to the wall type. For plasterboard, cavity anchors are your best bet. For masonry or tile over render, use heavy-duty wall plugs suited for that material. And never fix directly into grout — it’s weaker and more prone to cracking.
Use a quality tile drill bit to avoid chipping, and remember: slow, steady drilling is better than brute force.
A better solution
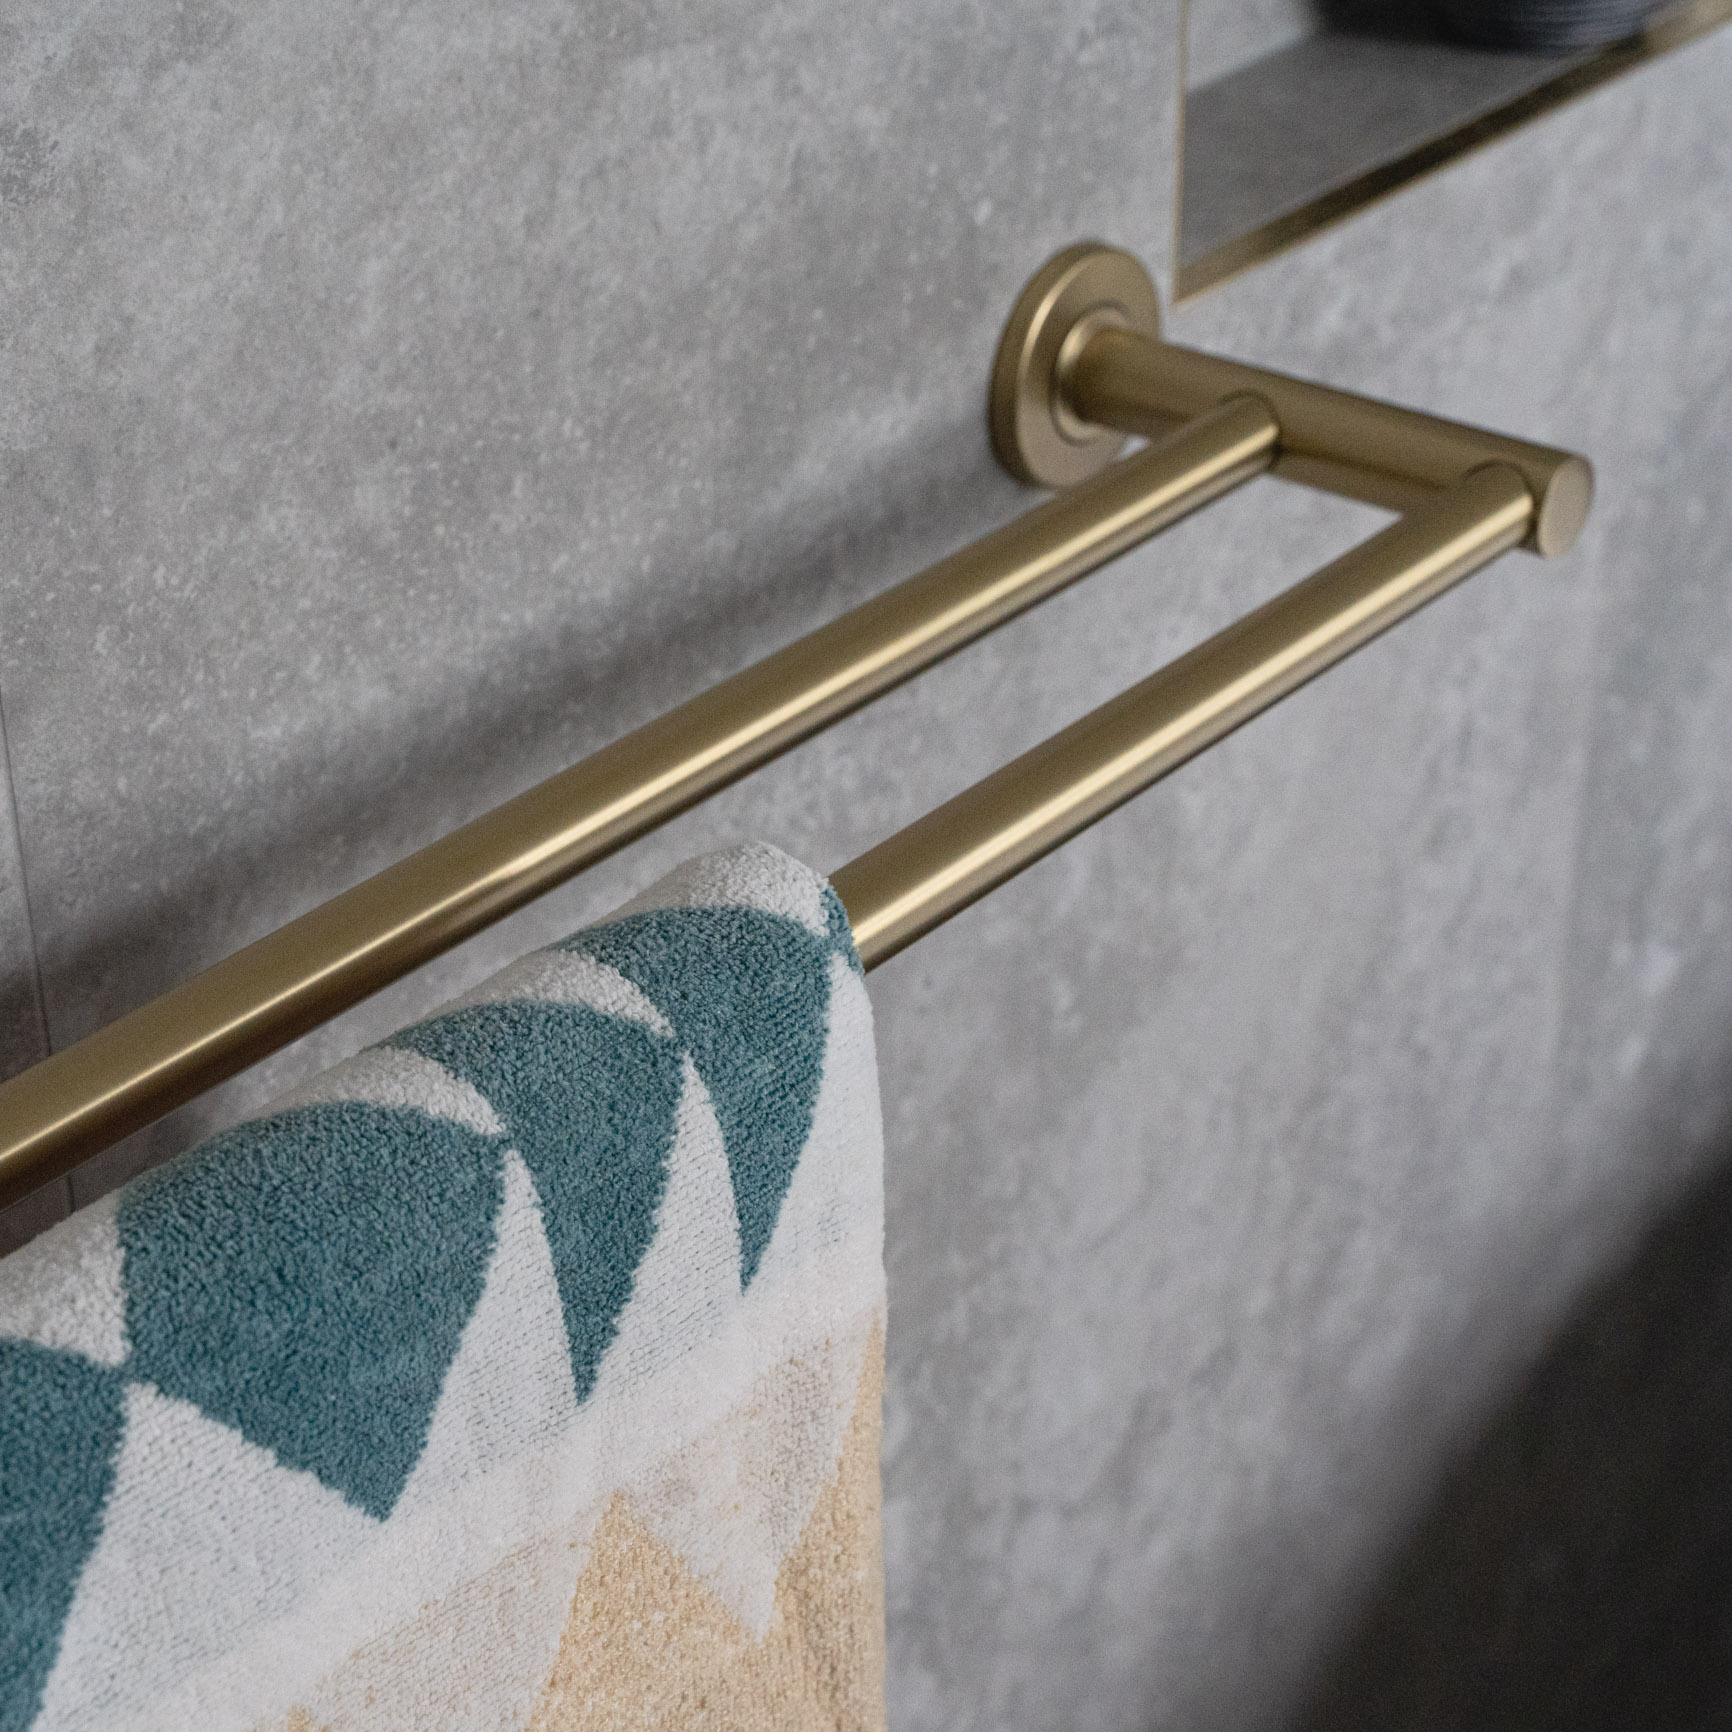
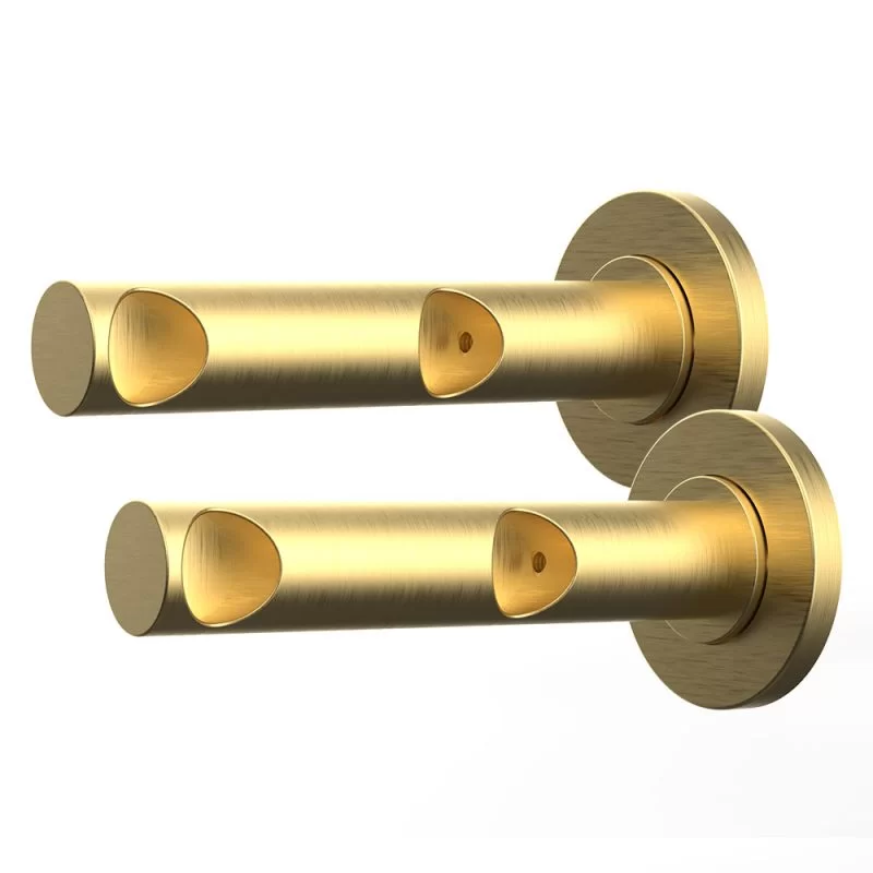
Products like the Master Rail towel rail are designed with a direct 4 point fixing systems that make secure installs much easier. With pre-engineered mounting points and clear instructions, you avoid the guesswork — and the risk of your rail pulling loose down the track. UDO Systems has made anchoring simpler by supplying the right fixings and concealed mount options in every set.
Mistake #2 – Poor Wall Prep and Ignoring What’s Behind the Tile
Another common oversight is jumping straight into drilling without checking the wall properly. It’s easy to assume all bathroom walls are the same, but behind those tiles could be anything: waterproofing layers, timber studs, voids, even water pipes.
Risks involved
- Damaging waterproofing membranes
- Hitting plumbing or wiring
- Drilling through hollow sections that won’t hold a plug
- Anchoring into weak or unsupported areas
Tips to get it right
Start by tapping the wall to listen for voids or studs. Use a stud finder that can read through tile and plaster — these are readily available at most hardware stores. You want to hit a support pillar or stud when you can, especially for heavier items like shelves or towel ladders.
If you’re unsure about what’s behind the tile, take a cautious approach. Drill a small test hole in an out-of-sight area or next to an existing fitting.
Stud use
When dealing with heavier accessories, anchoring into a stud or noggin gives you far more holding strength than wall plugs alone. If you’re renovating and have access behind the wall, installing support timber before tiling can save a lot of hassle later on.
Why it matters
Ignoring what’s behind the tile can lead to bathroom wall damage that’s costly to repair. It also affects the durability of your fittings — nothing holds long-term without the right backing.
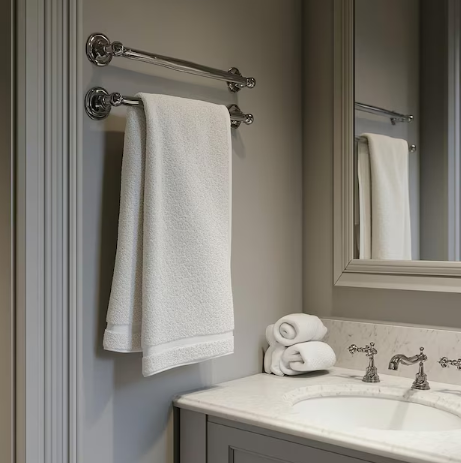
Mistake #3 – Spacing and Height Errors
Ever walked into a bathroom and thought, “That towel rail looks way too high”? Poor spacing and height alignment is another surprisingly common issue, especially when trying to “eyeball” placement.
How spacing errors happen
- Not measuring against nearby fittings (vanity, toilet, mirror)
- Hanging items at inconsistent heights
- Forgetting about towel length and drop
- Installing multiple rails too close together
Ideal placement guidelines
Here’s a general guide for popular bathroom accessories:
- Towel rail: 900–1200mm from floor level
- Robe hook: Around 1700mm from floor
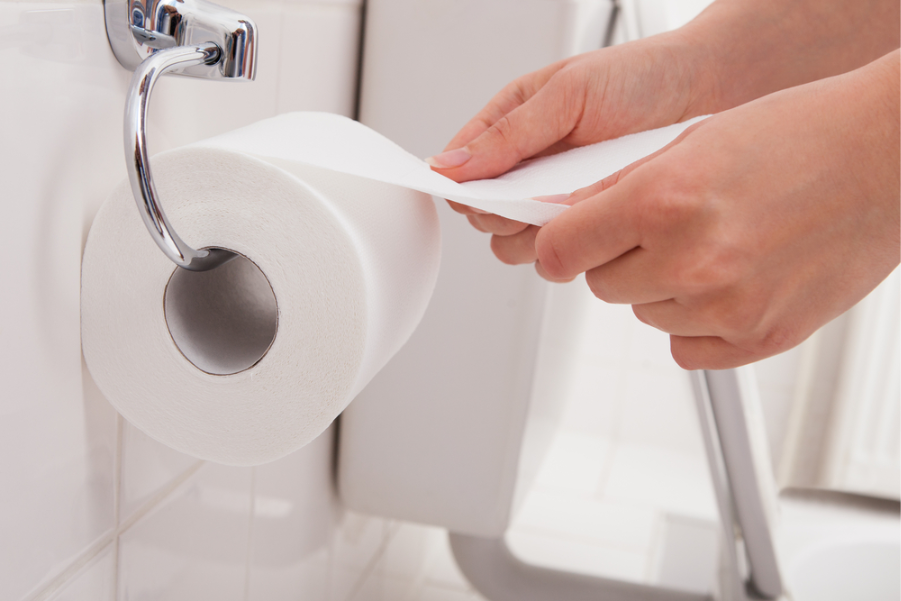
- Toilet roll holder: 650–800mm from floor, within arm’s reach
- Vanity shelf: About 100–150mm above basin edge
Tips to avoid spacing mistakes
Measure twice, mark once. Use painter’s tape to plan layout on the wall before drilling. If you’re installing multiple pieces, map out the whole layout first. Look at how it fits the space, not just individual accessories.
Master Rail’s towel rails from UDO Systems come in a variety of standard lengths or can be cut down to preferred size. Their concealed fixing points are evenly spaced and easy to align, helping reduce measurement guesswork.
Mistake #4 – Skipping Levels and Alignment Checks
It doesn’t matter how expensive your accessories are — if they’re crooked, your bathroom will look amateurish. Skipping the level check is a surefire way to ruin an otherwise tidy install.
What goes wrong
- Rails leaning slightly down or up
- Multiple accessories not aligned
- Out-of-square spacing that’s visible at a glance
How to fix it
Use a spirit level for every step. Digital or laser levels are even better for long rails or sets of accessories. Don’t rely on your eye — walls and floors can be subtly off, and it shows when accessories aren’t corrected.
Double-check all marks before you drill. Even half a degree off will show up when you’re staring at it every day.
Master Rail advantage
Master Rail’s installation system helps here too. Because the rails are mounted with a direct fixing system that guide positioning, there’s less margin for error. The result is a professional finish that looks straight and clean — without having to correct misaligned brackets after the fact.
Mistake #5 – Using Low-Quality Fixings and Accessories
A lot of bathroom accessory issues don’t show up until a few months down the line — loose rails, rust spots, discolouration, or parts that just give way under pressure. That’s often the result of going with cheap or poorly made gear.
Problems with low-grade materials
- Screws that rust quickly in humid air
- Chrome plating that flakes off
- Plastic brackets that warp or snap
- Rails that flex or sag under load
Why it’s worth investing in quality
You don’t need to go ultra high-end, but you do need fittings that are built for wet, steamy environments. Look for high quality chrome plating, powder coating or PVD. Make sure the fixing kits include corrosion-resistant screws and anchors suited to your wall type.
Where Master Rail shines
The Master Rail range from UDO Systems is specifically designed for Aussie bathrooms. All components are made from long-lasting materials and tested for durability. You’ll get corrosion-resistant fixings, strong concealed mounting, and a tidy, modern finish that holds up to daily use.
It’s a better option than using generic or imported sets that don’t come with proper installation hardware or aren’t designed for tiled walls.
Final Tips for a Smooth Install
If you’re planning a full DIY bathroom fitting session, here are a few final pointers to make the job easier and more professional-looking:
- Always drill pilot holes, even if the accessory looks light
- Tape your drill points on tile to stop the bit from wandering
- Wipe down the surface before marking or attaching anything
- Use silicone if needed around mounts for moisture protection
- Keep spare wall plugs and screws on hand just in case
Above all, take your time. It’s better to spend a few extra minutes checking spacing and alignment than having to patch up a bad job later.
With UDO Systems and their Master Rail accessories, you’re working with fittings designed specifically for DIYers and pros alike. Their fully concealed fix options and clear install instructions reduce errors, improve the finished look, and hold firm over time.
Conclusion
Bathroom accessory installation isn’t always as simple as it looks. Small mistakes — from improper anchoring to crooked alignments — can lead to frustration, costly fixes, or just a bathroom that doesn’t feel finished properly.
By avoiding these five common mistakes and choosing the right products from the start, you’ll get a better result with less hassle. Whether you’re a home DIYer or a professional installer, knowing what to look out for can save time, money and stress.
UDO Systems offers an excellent range of Master Rail bathroom accessories designed with both looks and function in mind. Their concealed fix rails and strong mounting systems make a big difference, especially for tiled walls and damp areas. If you’re after fittings that go in smoothly and stay put, check out their range at UDO Systems.
FAQs
1. How do I know which anchor or plug to use for my bathroom wall?
It depends on your wall type. For tiles over masonry, use masonry wall plugs. For plasterboard, cavity anchors are best. UDO Systems includes appropriate fixings with their products.
2. Can I install accessories into tile without cracking it?
Yes — use a carbide or diamond-tipped tile bit, drill slowly without hammer mode, and tape the area first. Avoid grout lines when possible.
3. What’s the ideal height for towel rails or robe hooks?
Towel rails typically sit at 900–1200mm from the floor. Robe hooks go higher, around 1700mm. Use your household’s height as a guide for comfort.
4. How do I fix a loose towel rail without re-drilling the wall?
If the anchor has pulled loose, you may need to fill the hole and reposition the rail slightly. High-strength wall plugs or toggle bolts can help in soft walls.
5. Where can I find high-quality bathroom accessories designed for easy install?
UDO Systems offers a solid range of bathroom accessories, including the Master Rail series, all designed for clean, durable installs and suited to Australian standards.


